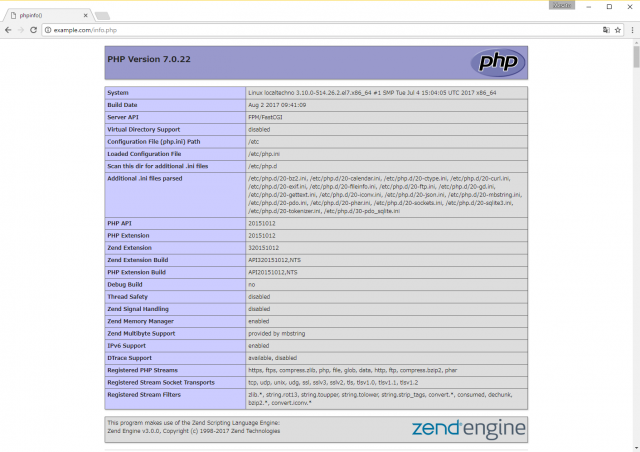
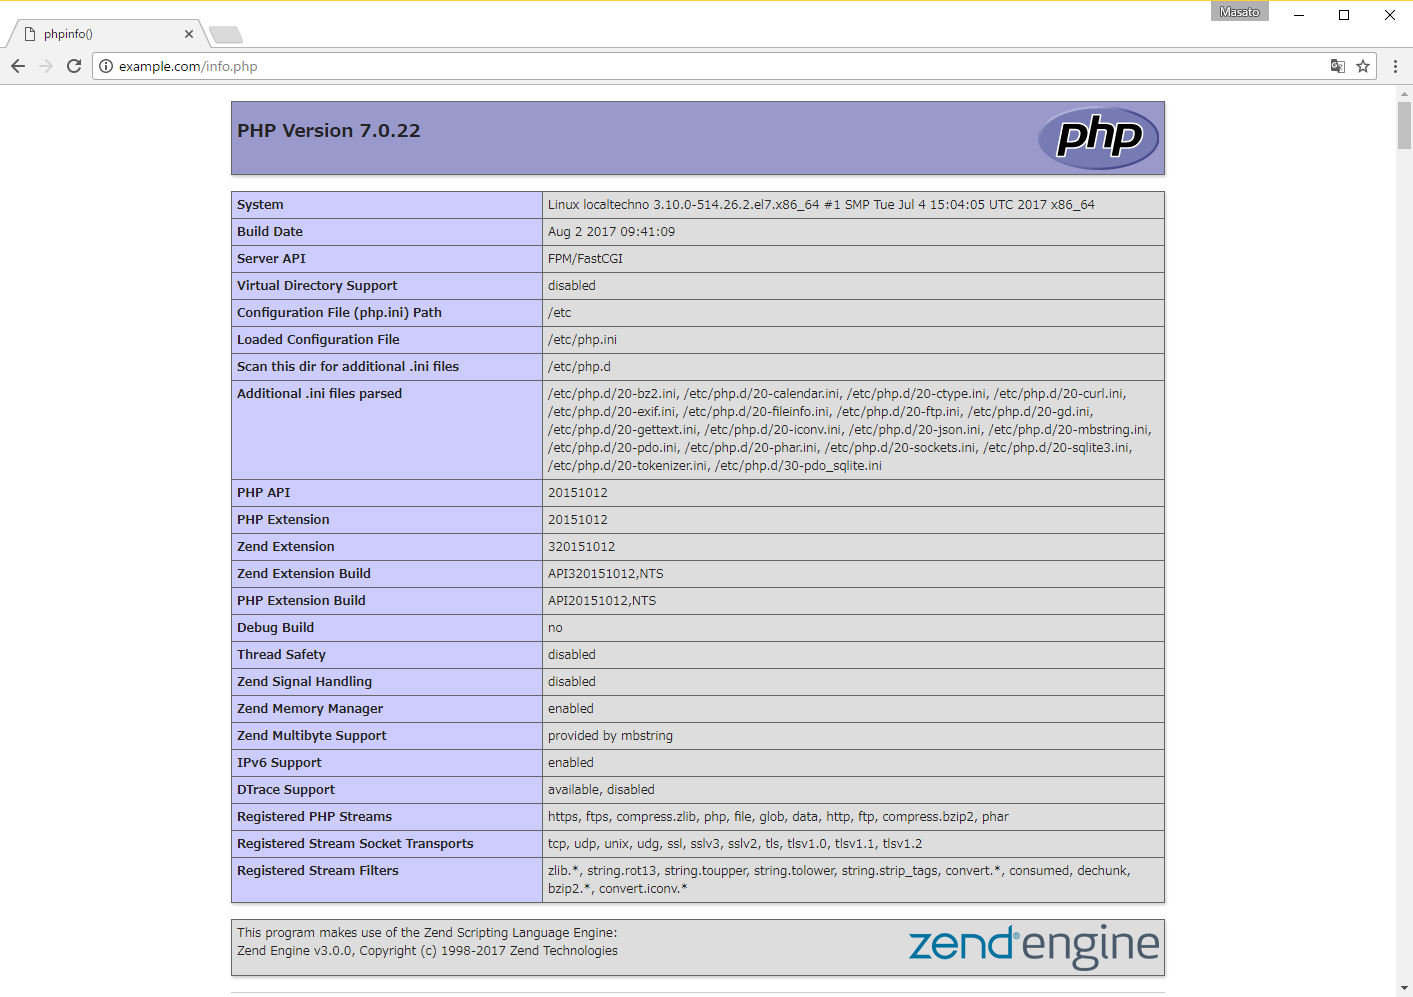
Apacheとは違い、nginxではデフォルトの状態では動作するどころかphpファイルにアクセスするとそのアクセスしたファイルがダウンロードとなってしまいます。
そこで今回は、nginxでphpを動かす設定を行っていきます。
PHP-FPMの設定変更
www.confというファイルに記述してある以下の箇所を変更します。
# vi /etc/php-fpm.d/www.conf
user = apache
group = apache

上記の部分を以下の様に変更

user = nginx
group = nginx
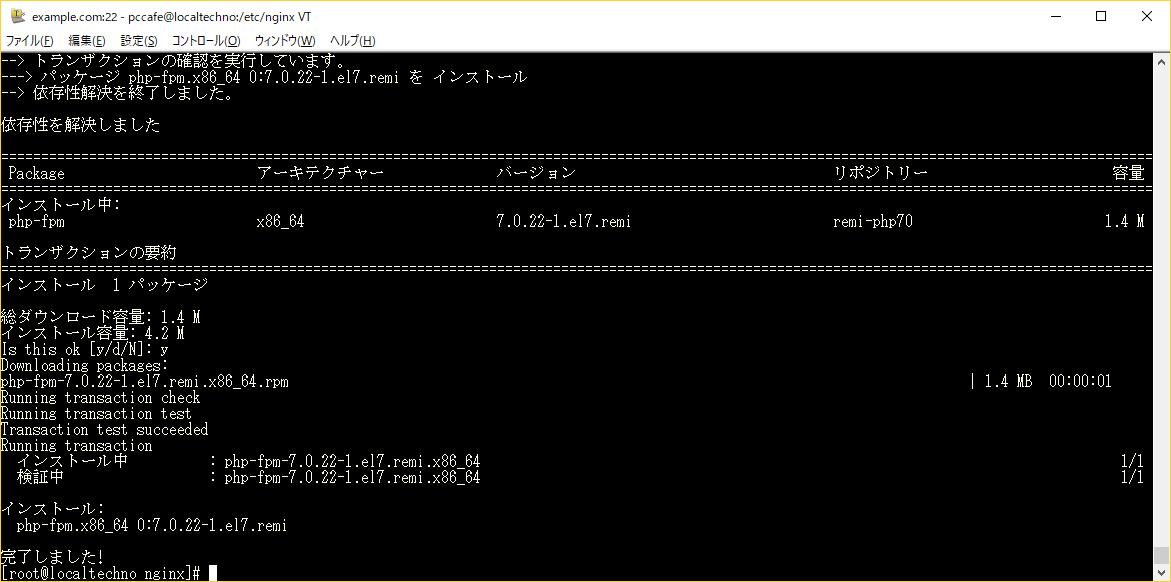
PHP-FPMの起動
# systemctl start php-fpm
# systemctl enable php-fpm
nginxのドメイン設定ファイルの変更
設定ファイルは、/etc/nginx/sites-available/example.com
■変更前
server {
        listen 80;
        server_name example.com;

        access_log /var/log/nginx/example.com_access.log main;

        location / {
                root /var/www/vhosts/example.com/httpdocs;
                index index.html index.php;
        }
}
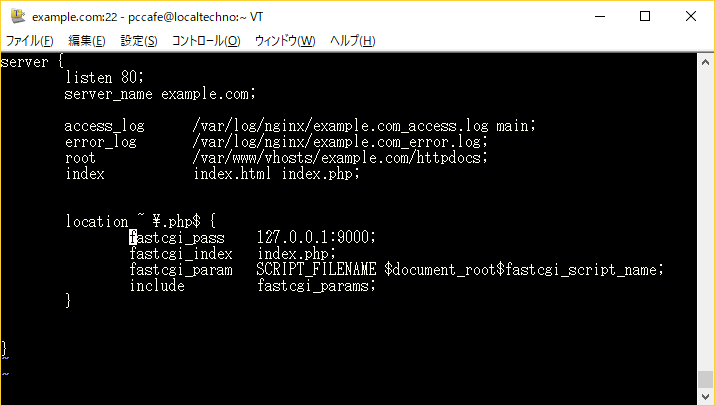
■変更後
server {
	listen 80;
	server_name example.com;

	access_log /var/log/nginx/example.com_access.log main;
	error_log /var/log/nginx/example.com_error.log;
	root /var/www/vhosts/example.com/httpdocs;
	index index.html index.php;

	location ~ \.php$ {
		fastcgi_pass 127.0.0.1:9000;
		fastcgi_index index.php;
		fastcgi_param SCRIPT_FILENAME $document_root$fastcgi_script_name;
		include fastcgi_params;
	}

}
nginxの再起動
# systemctl start nginx
[ad#g]
[ad#g]

